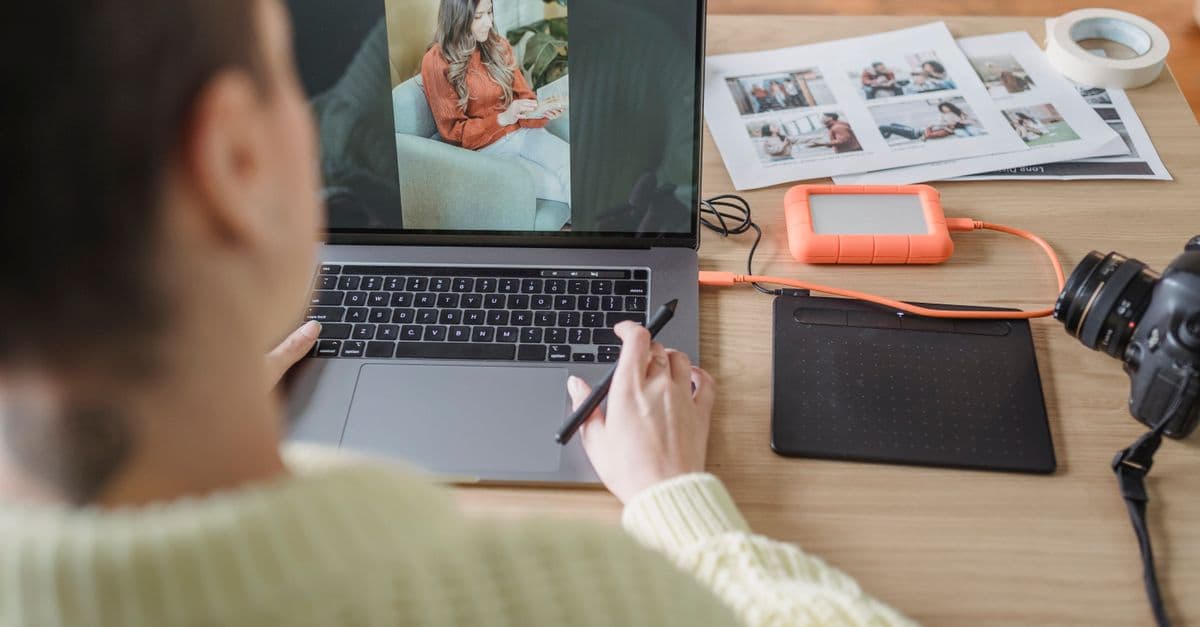
In just a few months, AI applied to images has gone from a novelty to a working tool. Creating a product shot, erasing an unflattering background or cutting out a logo no longer takes hours of software work or an agency budget. The real challenge is no longer technical: it is knowing what these tools do well, what they do poorly, and where to stay vigilant so you can publish with confidence.
For a small or midsize business, images are everywhere: product pages, social media, sales decks, websites, newsletters. Every missing or sloppy visual is a missed chance to persuade. AI now offers three broad families of uses: generation (creating an image from text), editing (modifying an existing image) and background removal (isolating a subject from its backdrop). This article covers each one concretely, with its benefits, its limits, a method to get started and the mistakes to avoid.
Generating images from a simple description
Image generation means describing a scene in plain language and getting a visual in a few seconds. Consumer tools like Midjourney, DALL·E or Adobe Firefly produce impressive results for illustrations, moods or concepts. Where you once had to buy a stock photo or hire a designer for a simple thumbnail, a few lines of text are now enough.
A few concrete examples for a small business:
- A mood image for a blog post, without buying stock or risking a duplicate seen everywhere else.
- A cover visual for a LinkedIn or Instagram post, produced in several variants in a few minutes.
- Moodboard proposals before briefing a real photographer or designer, to align everyone on a direction.
- Illustrations of an abstract service that is hard to photograph (cybersecurity, consulting, automation, training).
The key to a good result is the prompt: the description you provide. The more precise you are about the subject, style, lighting, framing and mood, the better the output. A vague prompt yields a generic, interchangeable image; a structured prompt yields a usable visual on the first try. It is a skill you pick up fast and that pays off on every piece of content: our advice on writing good prompts applies to images just as much as to text.
Structure your prompts
Describe in order: the subject, the action, the setting, the visual style (realistic photo, illustration, 3D), the lighting and the format. Example: "artisan workshop, hands working wood, warm morning light, realistic photo, close-up framing." Keep your best prompts in a reusable file: that is what turns a lucky attempt into a repeatable process.
One caveat, though: AI is still fallible on details. Hands, embedded text, logos and proportions can be inconsistent. Always inspect a generated image closely before publishing. For professional use, generation is mostly for illustrative visuals, rarely for faithfully depicting your actual product: a customer who receives something different from the photo will feel misled.
Editing an existing photo without Photoshop expertise
AI-assisted editing modifies an image you already own. It is often the most immediate time-saver for a small business, because it applies to your real photos: products, team, premises, job sites. Where a manual edit once took several hours and solid software skills, AI delivers a result in a few clicks, which you can then refine.
The most useful everyday functions:
- Removing a distracting object (a cable, a passerby, a reflection, a trash can) with "generative erase."
- Extending an image to change its format (going from a square to a banner) without harshly cropping the subject.
- Improving sharpness and resolution on an old, slightly blurry photo or a low-quality scan.
- Harmonizing lighting and color across a series of product photos taken at different times.
These tools are built into Photoshop (Neural Filters, generative fill), but also into lighter and often free apps like Canva or Photopea. For a small team, they are more than enough to produce clean visuals without training someone on complex software. Once your photos are edited, remember to prepare them for the web so you do not slow your site down: our guidelines on optimizing images for the web prevent heavy pages that hurt your search rankings.
Editing is not deceiving
On a product photo meant for sale, editing must stay honest. Improving the lighting is legitimate; altering a real color, hiding a defect or padding out content can create liability and disappoint the customer on delivery. Trust is worth more than a pretty visual, and an overly flattering image often costs you in returns and negative reviews.
Background removal: isolating a subject from its backdrop
Background removal is probably the most cost-effective use day to day. It means separating a subject from its backdrop to place it on a white, transparent or different background. It was historically a tedious task done pixel by pixel; AI makes it nearly instant and accessible to anyone in the company.
Typical use cases:
- Product photos on a uniform white background for an e-commerce site or a marketplace that requires that format.
- Cut-out team portraits for a consistent "About" page, despite photos taken in different settings.
- Packshots to place in a brochure, an illustrated quote or a sales deck.
- Logos or graphic elements to isolate for reuse on other materials.
Tools like remove.bg, or the background-removal features in Canva and Photoshop, handle most cases in one click. Complex edges (hair, transparent objects, fur, mesh) remain the tricky part: plan for a quick manual touch-up in those cases. To understand the logic and tricks behind the operation, our guide on removing an image background automatically walks through the steps one by one.
Cut out an image in one click
Need to isolate a product, a portrait or a logo from its background? Our background-removal tool processes your image directly in the browser and gives you back a transparent or white background, ready to place on your site or your materials.
| Use case | AI type | Main benefit | Watch out for |
|---|---|---|---|
| Creating a blog visual | Generation | Speed, no stock photos | Inconsistent details, not your real product |
| Cleaning up a photo | Editing | Fixes flaws without Photoshop | Staying honest about the final result |
| White product background | Background removal | Considerable time savings | Fine edges to redo by hand |
| Extracting text from an image | Recognition (OCR) | Editable text without retyping | Check ambiguous characters |
How to choose the right tool for your need
Faced with a flood of apps, the instinct should not be to look for "the best tool" in the abstract, but the one that fits your actual use and your skill level. A few simple criteria help you decide.
- Frequency of use: a one-off need is handled by a free web tool; a daily need justifies a built-in subscription.
- Team skill level: a simple interface (Canva) if no one is a designer, an advanced tool (Photoshop) if you have the skill.
- Commercial license: check that the output can be used to sell or advertise, with no watermark.
- Privacy: for sensitive visuals, prefer local processing or a service that does not exploit your images.
- Output quality: check the resolution and the absence of artifacts before standardizing on a tool.
One last criterion, often overlooked: the output format. Depending on the medium, the same visual is better exported as PNG (transparency), JPG (lightweight photo) or WebP (reduced weight for the web). If you are unsure, our comparison on choosing which image format to use avoids files that are too heavy or of insufficient quality.
AI does not replace judgment; it just executes faster. The value stays in choosing the right visual, not in the technique.
The precautions to know before publishing
These tools are powerful, but professional use calls for a few safeguards. Three topics deserve your attention before you release an AI-produced visual.
Rights and licenses
Always check the tool's terms of use: some free plans ban commercial use or add a watermark. For a generated image meant for sale or advertising, favor a tool whose license explicitly allows commercial use, such as Adobe Firefly, trained on licensed content. When in doubt, keep a written record of the rights attached to each important visual.
Data privacy
Sending a photo to an online service means handing it to a third party. Avoid uploading sensitive documents, faces of people who have not consented, or confidential visuals. The GDPR applies as soon as a person is identifiable. If you regularly handle personal data, our guidance on AI and the GDPR helps you frame your usage before it becomes a problem.
Brand consistency
AI makes production easier, but it does not know your visual identity. Without a framework, you risk piling up mismatched visuals that blur your image. Define your colors, style and formats up front so every image stays recognizable as yours, whatever the tool or the person producing it.
What about text in images?
AI generates text inside an image poorly, and if you instead need to extract the text contained in a visual (a screenshot, scan or poster), generation will not help: you need optical character recognition (OCR), which turns the image into editable text.
Common mistakes to avoid
The same slip-ups show up at most small businesses adopting AI imaging. Spotting them ahead of time saves you precious time and spares you visuals you would have to redo.
- Publishing a generated image without reviewing it: six-fingered hands, unreadable text or a warped logo go unnoticed until you look closely.
- Passing off a generated visual as a real photo of your product, at the risk of disappointing customers and creating liability.
- Piling up tools with every new tutorial, never standardizing, which breaks consistency.
- Always exporting at very high resolution and bloating your site, when a suitable web format is enough.
- Neglecting to back up originals: always keep the raw photo before any editing.
The good habit to build
Create an "approved visuals" folder with your originals, your final exports and a small file of prompts that worked well. Within a few weeks, you have a reusable library that speeds up every new request and guarantees a consistent look.
A simple workflow to get started
No need to adopt everything at once. Here is a realistic progression for bringing AI imaging into a small business, from the most cost-effective to the most delicate:
- 1Start with background removal: it is the most immediate and least risky gain.
- 2Add light editing to clean up your existing photos (distracting objects, lighting, format).
- 3Test generation for your non-contractual illustrative visuals (blog, social media).
- 4Formalize a small style guide: allowed formats, colors and styles.
- 5Document your best prompts and your approved tools to save time on every new request.
This gradual ramp-up has an advantage: each step produces a visible result before you move to the next. You measure the time saved, and you invest in a paid tool only once a use is truly established.
Frequently asked questions
How can I remove an image background for free and quickly?
Most online tools strip the background in one click from your photo, with no installation. The result is instant on a sharp, well-lit subject; for fine edges like hair, plan for a small manual touch-up. Our background-removal tool processes the image directly in the browser.
Can an AI-generated image be used for commercial purposes?
It depends entirely on the tool and its license. Some free plans ban it or add a watermark, while others, like Adobe Firefly, explicitly allow commercial use. Always check the terms of use before publishing or selling a generated visual.
Which tool should I choose to edit photos without knowing Photoshop?
Apps like Canva or Photopea offer AI-assisted editing features in a simple, often free interface. They are more than enough to erase an object, improve the lighting or change a format. Reserve Photoshop for advanced cases if you have the skill in-house.
Why does AI sometimes botch hands or text in an image?
Generative models reproduce plausible shapes without truly understanding anatomy or writing, hence hands with the wrong number of fingers or unreadable text. It is a known limitation that keeps improving, but it means reviewing every visual before publishing. For reliable text, it is better to add it yourself after generation.
How much time does AI imaging save a small business?
On tasks like background removal or harmonizing a series of product photos, the gain adds up to several hours a week depending on volume. The saving comes mainly from repetition: an operation that took long minutes now takes a few seconds. The freed-up time can be reinvested in choosing the visuals and in editorial quality.
In summary
AI generation, editing and background removal are now within reach of any small or midsize business, with no technical expertise or big budget. Background removal offers the most immediate gain, editing makes the most of your real photos, and generation enriches your illustrative content. All of it, provided you stay vigilant about licenses, privacy and brand consistency, and review every visual before publishing.
At TC Automation, we help companies bring these tools into a concrete workflow: choosing the solutions, automating repetitive tasks and setting a framework for a professional, lasting result. If you want to scale up your visual production without losing control, let's talk about your real use cases and how to equip them intelligently.